## The Problem Nobody Talks About
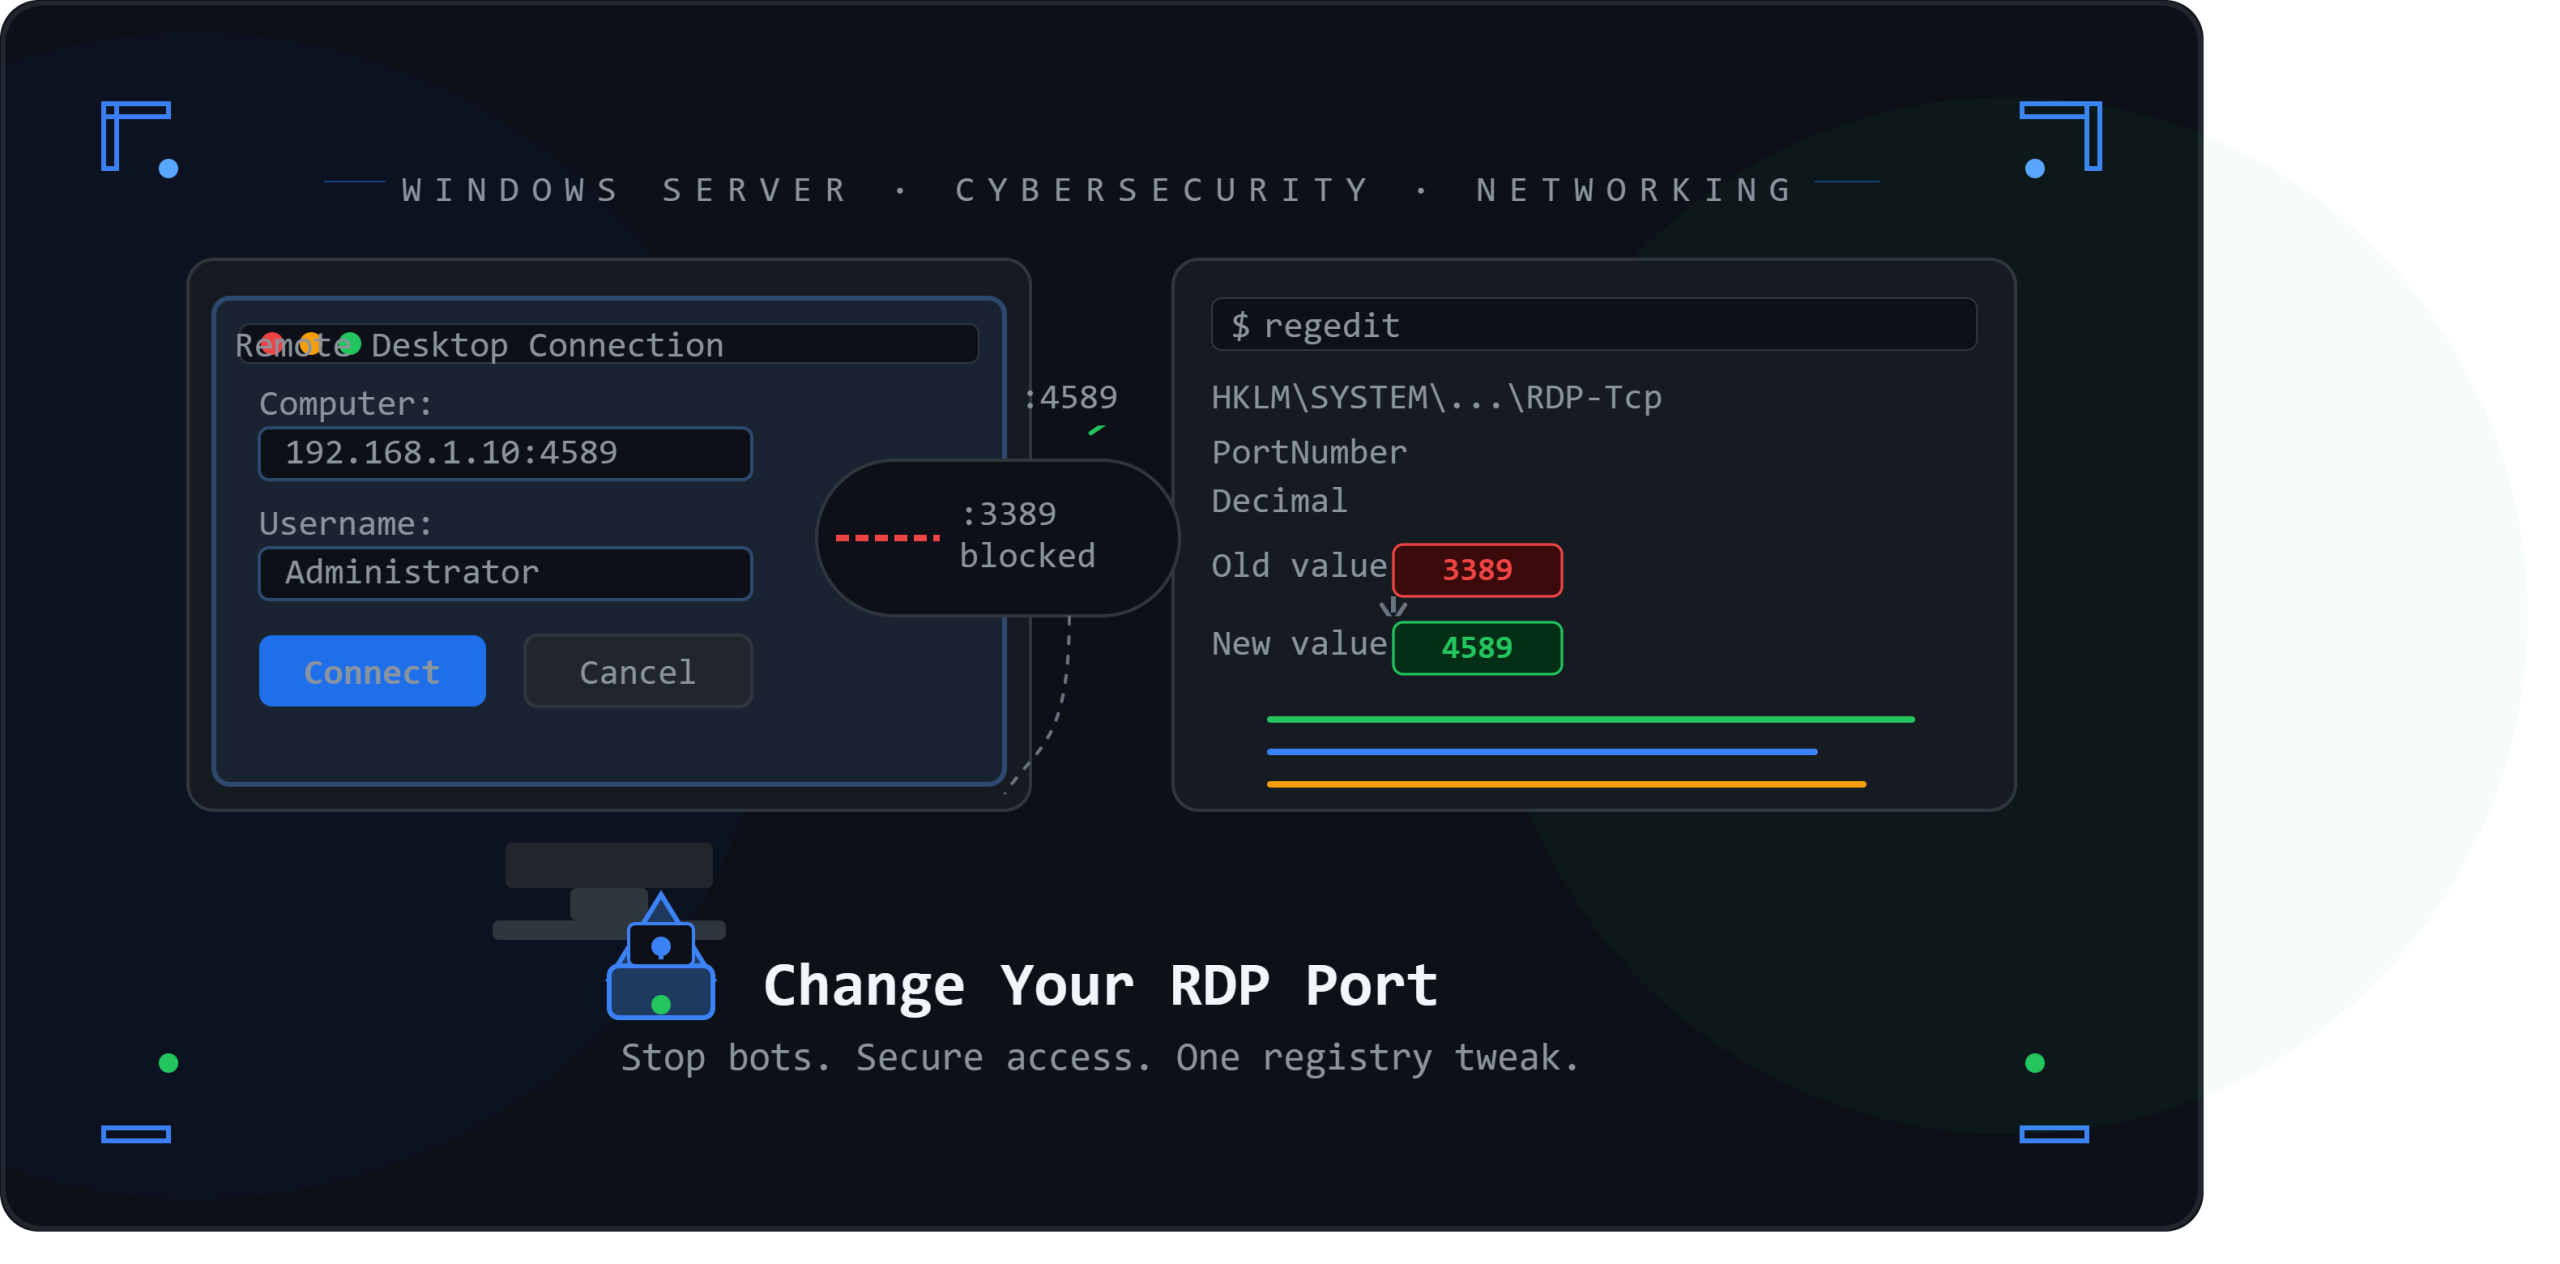
Every Windows machine with Remote Desktop enabled is listening on the same port — **3389**.
That’s not a secret. Hackers know it. Automated bots know it. Every minute your server is online, scripts are hammering port 3389 trying thousands of username/password combinations. This attack style — called a **brute-force attack** — is one of the most common ways servers get compromised worldwide.
The good news? There’s a simple, free fix that takes under 10 minutes: **change your RDP port**.
This single change won’t make your server invincible, but it immediately drops bot traffic targeting your machine by a massive margin — because most bots are lazy. They scan for default ports and move on.
Let’s do it……….
## What You’ll Need
– A Windows machine (Windows 10, 11, or Windows Server)
– Administrator access
– A second device to test the RDP connection after the change
– 10 minutes of your time
## Step 1 — Choose Your New Port Number
Before touching any settings, pick a port number you’ll use. A few rules:
– Use a number **between 1024 and 65535**
– Avoid well-known ports like 8080, 443, 22 (already used by other services)
– Something like **4589**, **33890**, or **51234** works great
– Write it down — you’ll need it every time you connect
**Pro Tip:** Don’t use 3390 or 3391. These are too close to 3389 and bots often scan nearby ports too.
## Step 2 — Change the RDP Port in the Registry
This is the core step. Windows stores the RDP port setting deep in the registry.
**Here’s how to change it:**
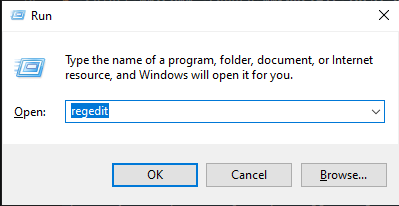
1. Press **Win + R** to open the Run dialog
2. Type `regedit` and press **Enter**
3. Allow the UAC (User Account Control) prompt if it appears
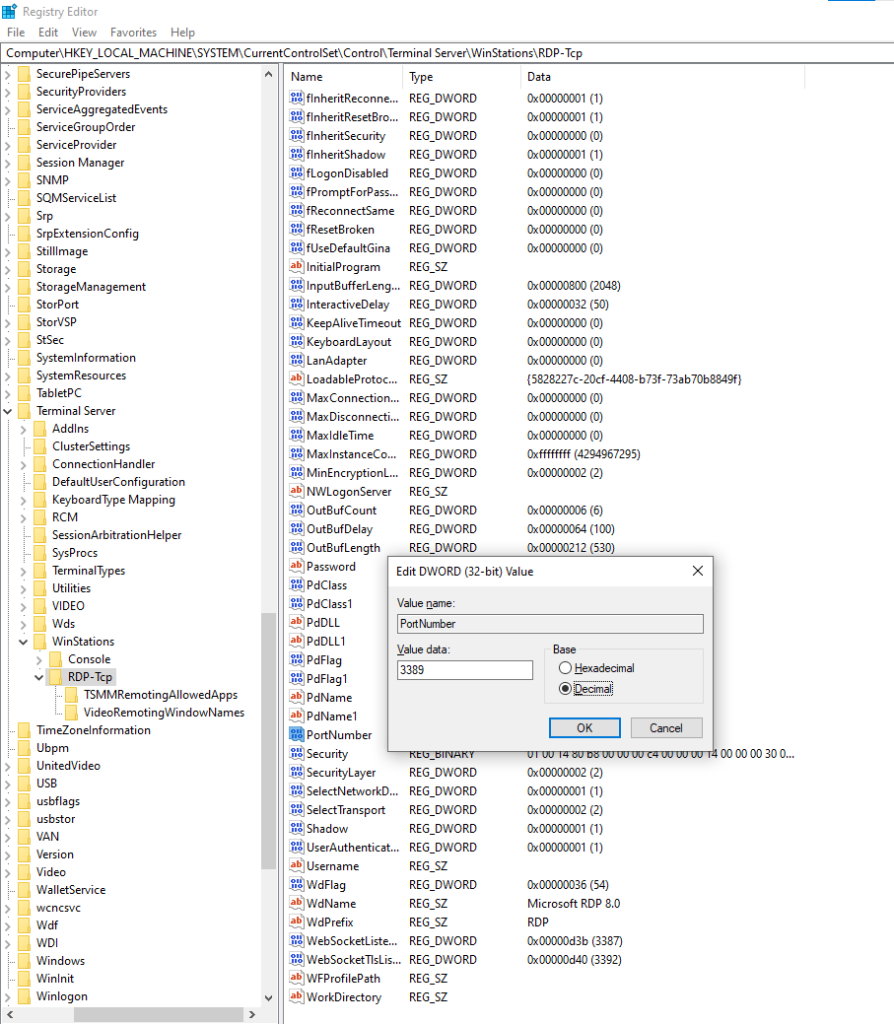
4. Navigate to this exact path in the left panel:
HKEY_LOCAL_MACHINE\SYSTEM\CurrentControlSet\Control\Terminal Server\WinStations\RDP-Tcp
5. In the right panel, find **PortNumber** and **double-click** it
6. In the dialog that opens, select **Decimal** under “Base”
7. Clear the current value (3389) and type your **new port number**
8. Click **OK**
That’s it — the registry change is done. But you’re not finished yet. If you stop here, your firewall will block the new port and you won’t be able to connect.
## Step 3 — Allow the New Port Through Windows Firewall
Windows Firewall by default blocks ports that haven’t been explicitly allowed. You need to create a new inbound rule for your chosen port.
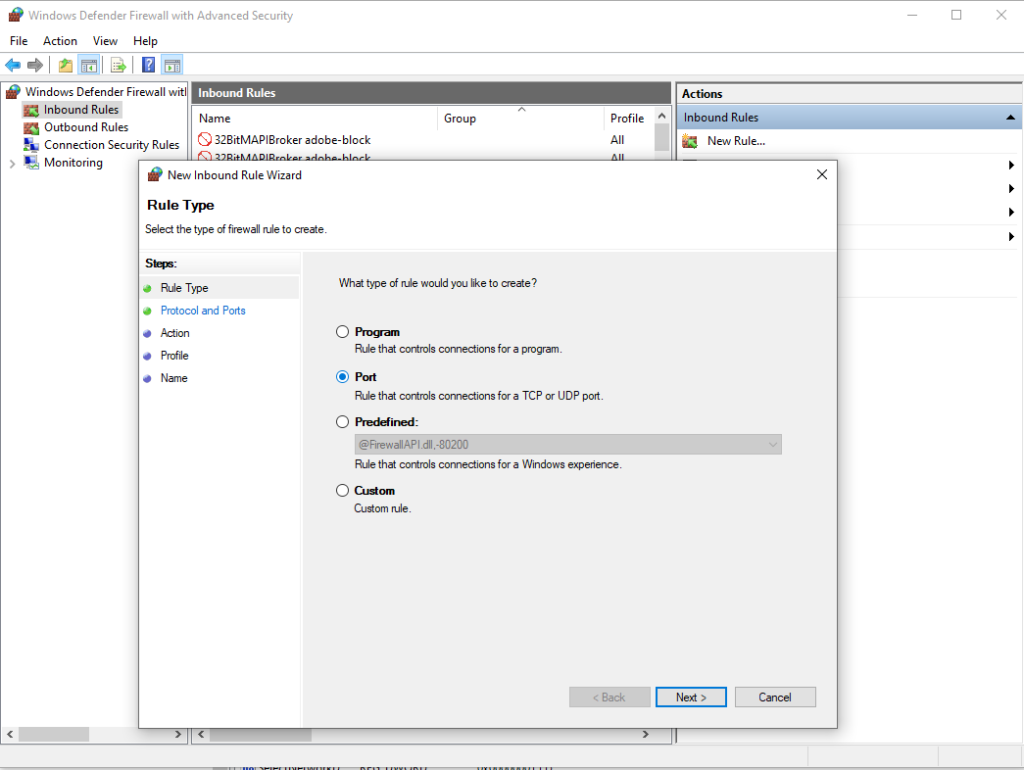
1. Search for **Windows Defender Firewall** in the Start menu and open it
2. Click **Advanced Settings** in the left sidebar
3. In the new window, click **Inbound Rules** on the left
4. On the right side, click **New Rule…**
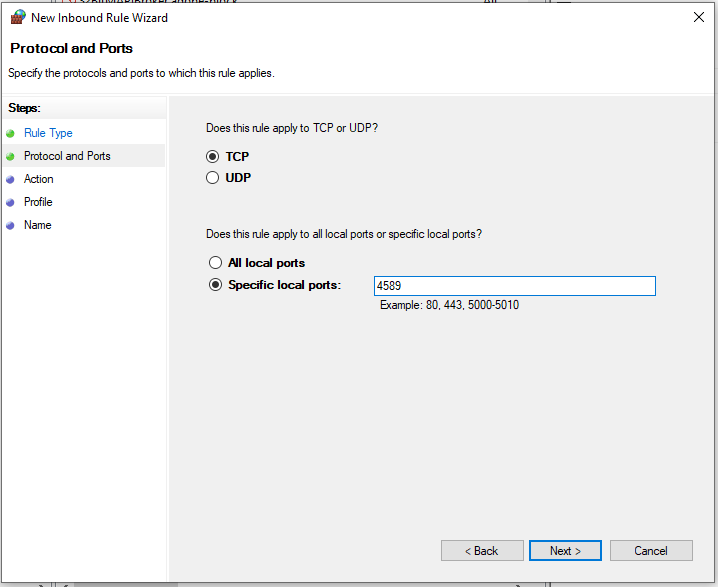
5. Choose **Port** and click Next
6. Select **TCP**, choose **Specific local ports**, and enter your new port number
7. Click Next → Select **Allow the connection** → Next
8. Check all three boxes: **Domain**, **Private**, **Public** → Next
9. Give the rule a name like `RDP Custom Port` → **Finish**
Your firewall now knows to let traffic through on your new port.
## Step 4 — Restart the Machine
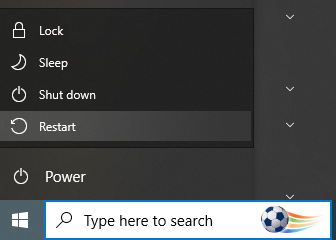
The registry change only takes effect after a restart. Go ahead and reboot your Windows machine.
Start → Power → Restart
**Important:** Don’t close your current remote session and try to reconnect right away — you’ll lose access temporarily during restart. Make sure you have local access or wait a couple of minutes before reconnecting.
## Step 5 — Connect Using the New Port
Now comes the test. From your other device:
1. Press **Win + R**, type `mstsc`, and hit Enter (this opens Remote Desktop Connection)
2. In the **Computer** field, enter your IP address followed by a colon and your port number:
192.168.1.10:4589
*(Replace with your actual IP and your chosen port)*
3. Click **Connect**, enter your credentials, and you should be in!
If you’re connecting over the internet, use your **public IP** instead of the local IP. You’ll also need to forward the new port on your router to the Windows machine’s local IP.
—
## Troubleshooting Common Issues
**”Can’t connect after the change”**
– Double-check that you restarted the machine
– Verify the firewall rule was created for the correct port number
– Confirm the registry value was saved as Decimal, not Hexadecimal
**”Connection times out”**
– If connecting remotely, make sure your router/firewall also allows the new port
– Check if a third-party antivirus/firewall is blocking the port
**”I forgot which port I set”**
– Go back to the same registry path and check the PortNumber value again (remember to read it as Decimal)
**”I’m locked out”**
– If you have physical access, log in locally
– If it’s a cloud VM, most providers offer a console access option in their dashboard
—
## Bonus: Check If Your Port Is Open (Optional)
Want to verify from the outside? Use an online port checker tool and test your public IP + new port. If it shows “open,” everything is working correctly.
You can also test locally with PowerShell:
“`powershell
Test-NetConnection -ComputerName localhost -Port 4589
“`
If `TcpTestSucceeded` shows **True**, your RDP is listening on the new port.
—
## What This Change Does (And Doesn’t) Do
| What It Helps With | What It Doesn’t Fix |
| Reduces bot/automated scan traffic | Weak passwords still a risk |
| Makes your server less of a soft target | Doesn’t replace a proper firewall |
| Stops most script-kiddie attacks | Determined attackers can still port-scan |
| Easy, free, zero performance impact | Not a substitute for VPN for sensitive access |
Changing the RDP port is called **security through obscurity** — it’s not a complete security solution, but it’s a fast and effective first layer of defense. Pair it with:
– **Strong passwords** (or better yet, certificate-based login)
– **Network-level authentication (NLA)** enabled
– **Account lockout policies** after failed login attempts
– A **VPN** if your setup supports it
—
## Summary
Here’s the full process in a nutshell:
1. Pick a new port number (e.g., 4589)
2. Change it in `regedit` → `RDP-Tcp` → `PortNumber` (set to Decimal)
3. Add an Inbound Rule in Windows Firewall for that port (TCP)
4. Restart the machine
5. Connect using `IP:Port` format in Remote Desktop
Ten minutes of work. Dramatically fewer bot attacks. Worth it every time.
—
*Found this helpful? Share it with your team or that one friend who still has RDP open on 3389.* 🔐
Still Confused or not able to Do!!!! Here is a video for you